Keto Bread THM-Fuel-Pull Low-Calorie Gluten-Free
As an Amazon Associate, I earn from qualifying purchases. I am also an official THM Affiliate and am earning a percentage off of links used in the above content that may link directly to the THM online store. This is at no cost to you. Please see my Affiliate Disclosure for more information.
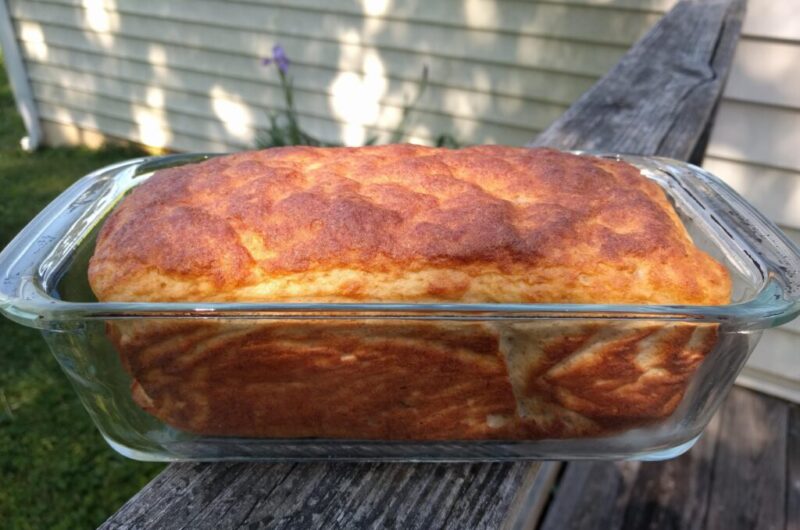
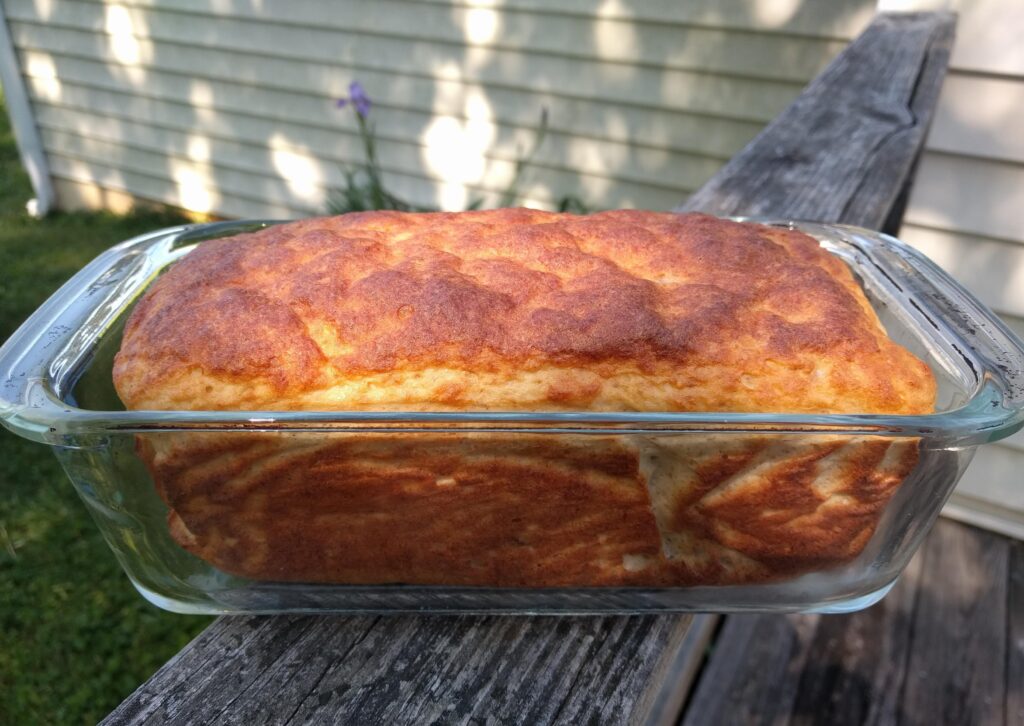
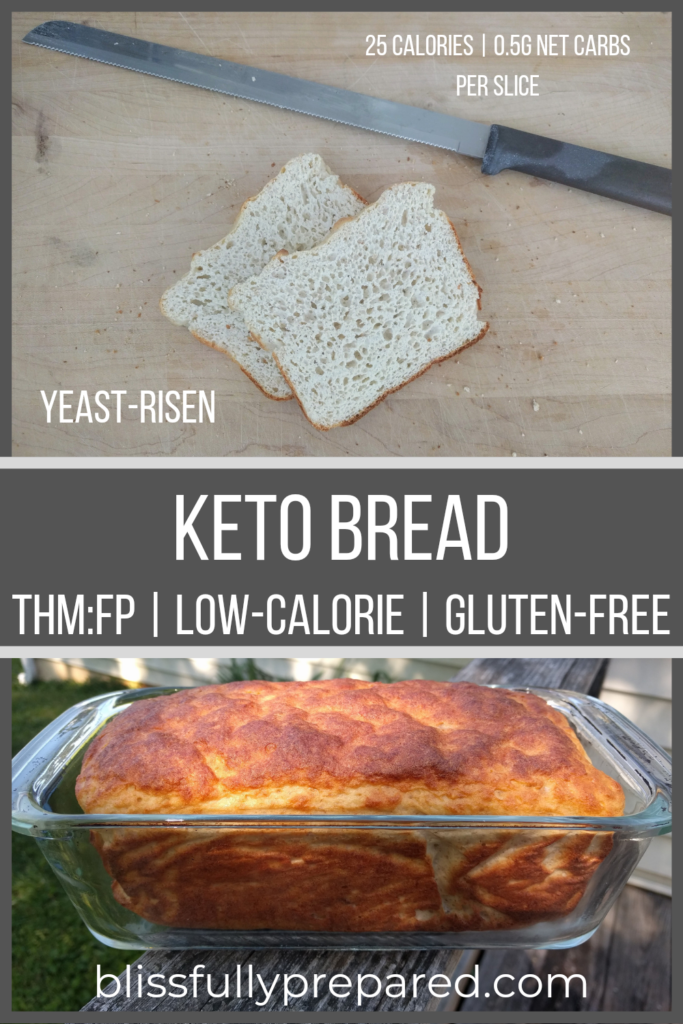
Fluffy Yeast-risen Keto Bread that’s gluten-free, high-protein, and only 25 calories per slice! Now you can pile all your favorite fixings on your sandwich without maxing out your daily calories/macros!
No matter what “way” I eat, I always have to have a good bread in my life. Before we had to go gluten-free back in early 2019, I use to make my own sourdough bread. I’ll admit that I do still miss my sourdough. When I was Keto, I loved Gnom Gnom’s Keto Bread recipe. But, I found I would rarely eat it, though, because each slice was about 150 calories (based on 24 slices). So, even before adding any of my fixings, my sandwich was already 300 calories!
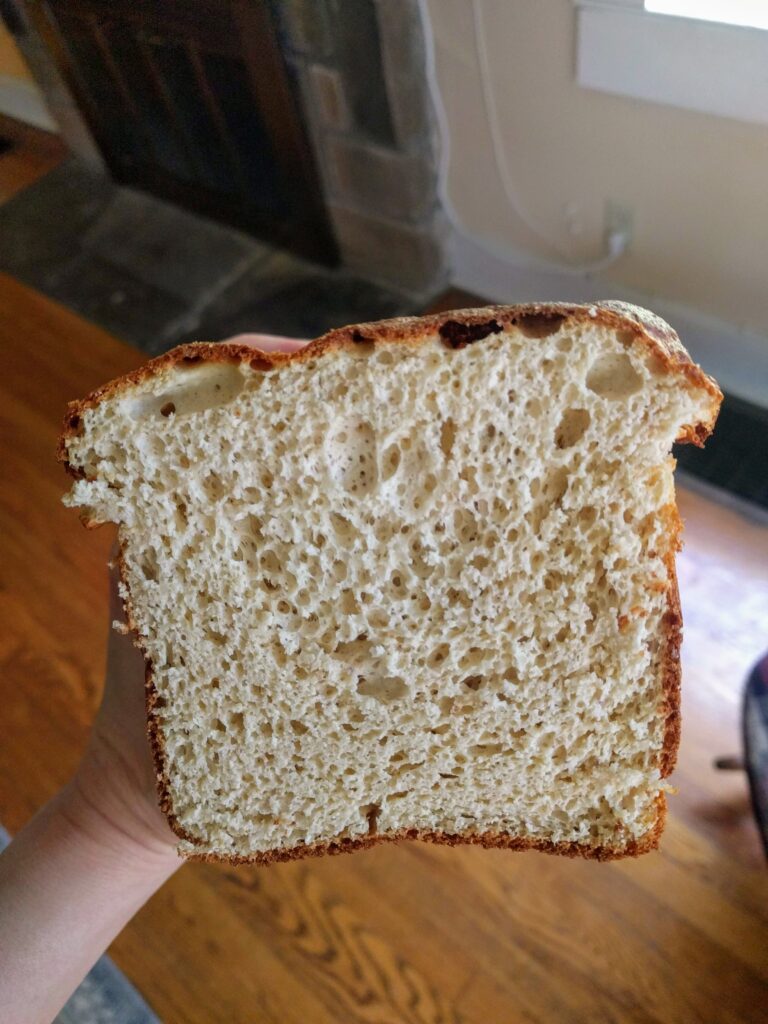
THM Wonderful White Blender Bread (WWBB)
When I started following Trim Healthy Mama, I tried the infamous Wonderful White Blender Bread. My first loaf went a little crazy and oozed over the sides of my bread pan for almost the entire baking time. It tasted good, though! It wasn’t “eggy” like a lot of keto breads. And I loved how it was both low-carb AND low-calorie.
So I tried a second loaf. This time, I used a bigger bread pan. It did not ooze over the sides that time, but it drastically shrunk/deflated as it cooled after baking and I was unable to use it for sandwiches. Also, even though I baked it for a few extra minutes, it was still undercooked in the center.
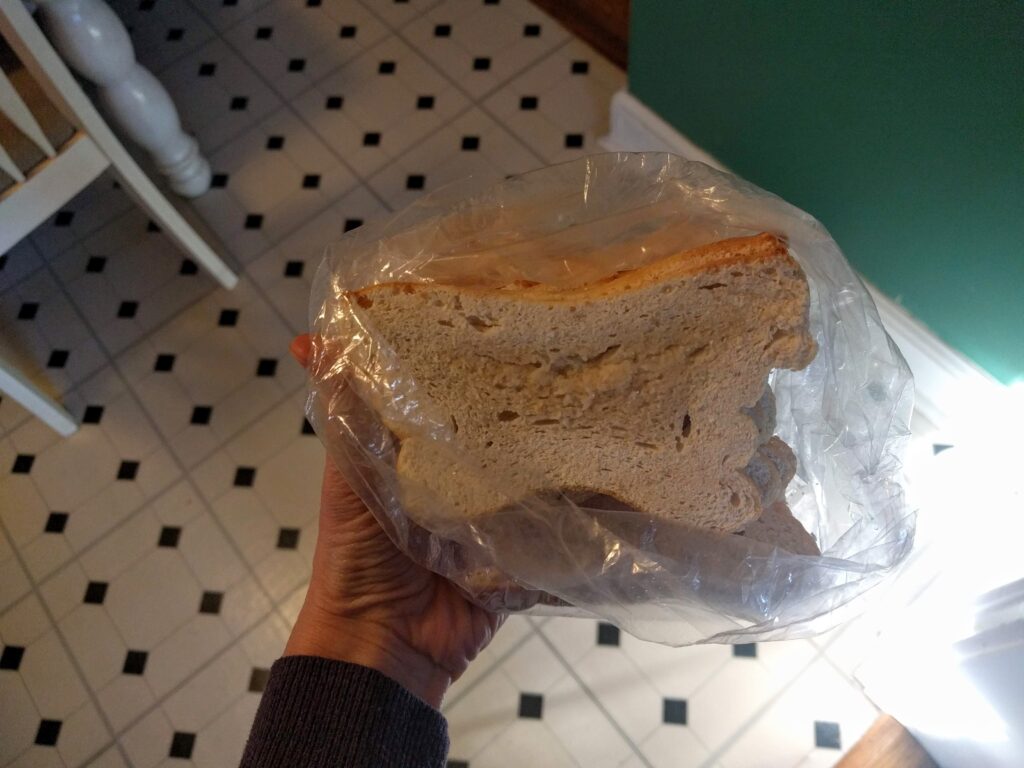
While I love most THM recipes and I know some people have great success with WWBB, I also discovered a lot of other people who, like me, did not have much luck with this particular recipe.
But I was determined to make this recipe work for me. I did a ton of research, gleaning various WWBB tweaks and hacks that had worked for other people, as well as studying about gluten-free bread making in general.
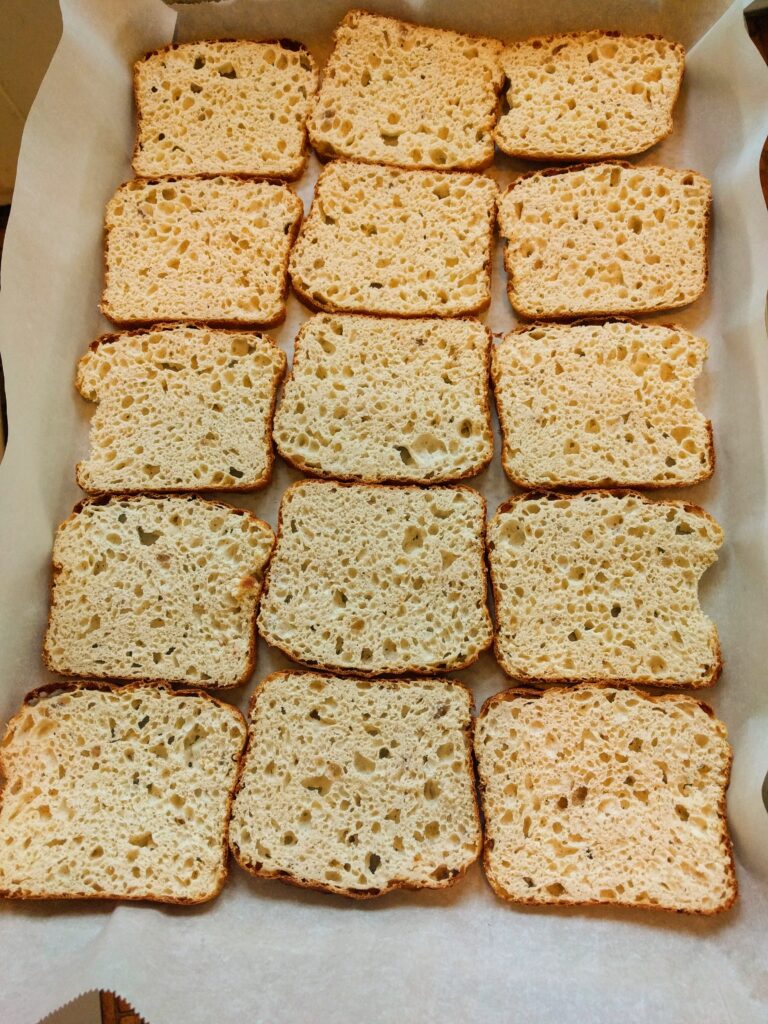
Cracking the gluten-free Keto bread code
I made loaf after loaf until I finally cracked the gluten-free Keto Bread code. Here are the things I changed:
- I added dry active yeast for a more authentic bread flavor, texture and better rise. I do add a little sugar to feed the yeast, but it will not remain in the finished bread (it gets metabolized by the yeast to help the bread rise).
- I use room temperature ingredients to make my bread. This helps the bread to rise better.
- I included resting and rising time for the ingredients to expand/absorb and for the yeast to activate the dough.
- I use a 22 x 11 x 6 cm bread pan (roughly 1.5qt) with nearly vertical sides. Some say that bread pans with sloped sides can cause gluten-free breads to deflate as they cool.
- And, because my bread pan isn’t large, I make a 2/3 recipe. The original full recipe requires a large bread pan or the dough may spill over the sides while baking.
- I added ground psyllium husks. This adds additional fiber and structure, without affecting the macros, while also giving it more of a “whole wheat” flavor/texture.
- I whip my egg whites until stiff peaks form and do not make my dough in the blender (honestly, the dough was always too thick for my blender anyway). But it’s just as easy in a mixing bowl.
- I added apple cider vinegar, cream of tartar and ground ginger, which are gluten-free bread dough enhancers that help the gluten-free bread to rise better.
- I converted most of the ingredient amounts to grams for greater accuracy. This gives more consistent results in gluten-free baking.
- I line my bread pan with parchment paper instead of greasing/coating with cooking spray. Fat can make egg whites deflate and the parchment paper keeps the dough from sticking to the bottom/sides of the pan.
- I bake my bread longer than the original WWBB and make sure it reaches 205 – 210*, which is important for gluten-free breads.
- I rotate my loaf about every 10 minutes in the oven (I just have a basic electric oven) as it bakes to help it cook more evenly. I also turn the bread on its sides at the end to keep it from shrinking/deflating.
- I let my bread fully cool before slicing. I know it’s hard to wait, but this is REALLY important, especially with gluten-free breads.
How I make my Keto bread:
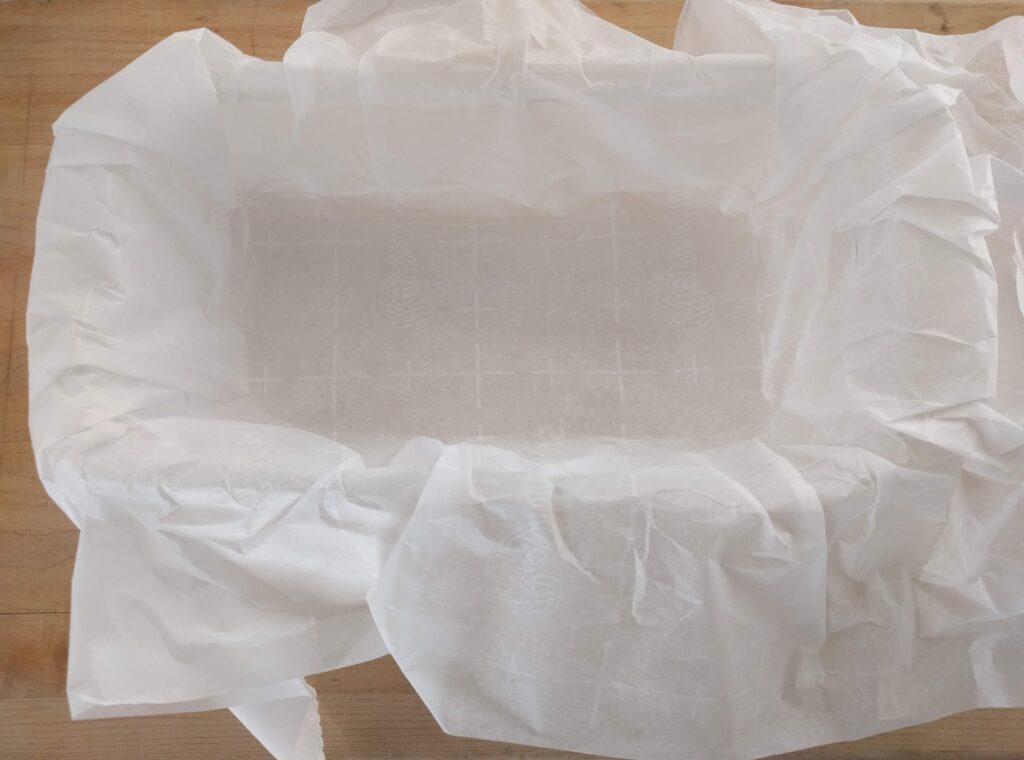
First, I line my bread pan with parchment paper. I try to mold it around the bottom and sides the best that I can. This can be a little tricky but it doesn’t have to be perfect. I also turn on my oven light (I usually preheat for just a minute, too, but only to get it to between 80-90* – don’t let it get too hot!) to have a warm, draft-free place for my bread to rise.
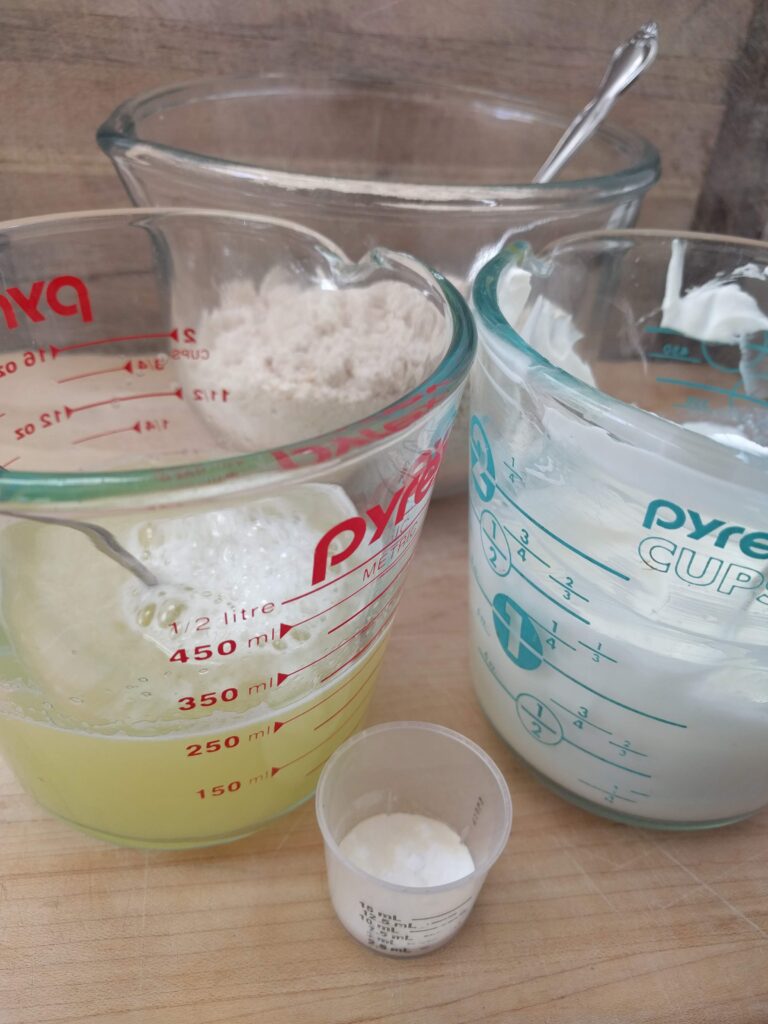
Next, I weigh out most of my ingredients (except for those that are in TBS/tsp amounts) and quickly warm up my egg whites and Greek yogurt by submerging the measuring cups in hot tap water for a few minutes. I add my ACV to my yogurt. I measure out my cream of tartar and xanthan gum into a small cup to add to my egg whites as they whip. I weigh/measure my other dry ingredients and mix them in a small mixing bowl.
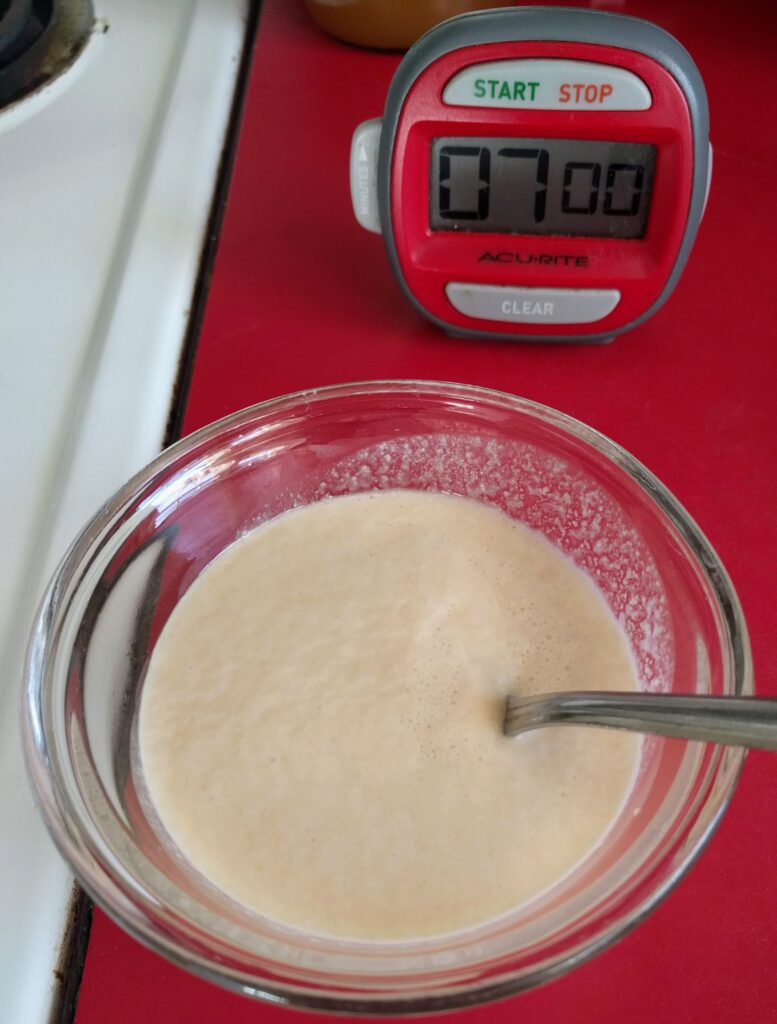
Next, I activate the dry yeast (with a little sugar and water) until it foams (about 7 minutes).
While my yeast is activating, I whip my egg whites with cream of tartar and xanthan gum until stiff peaks form.
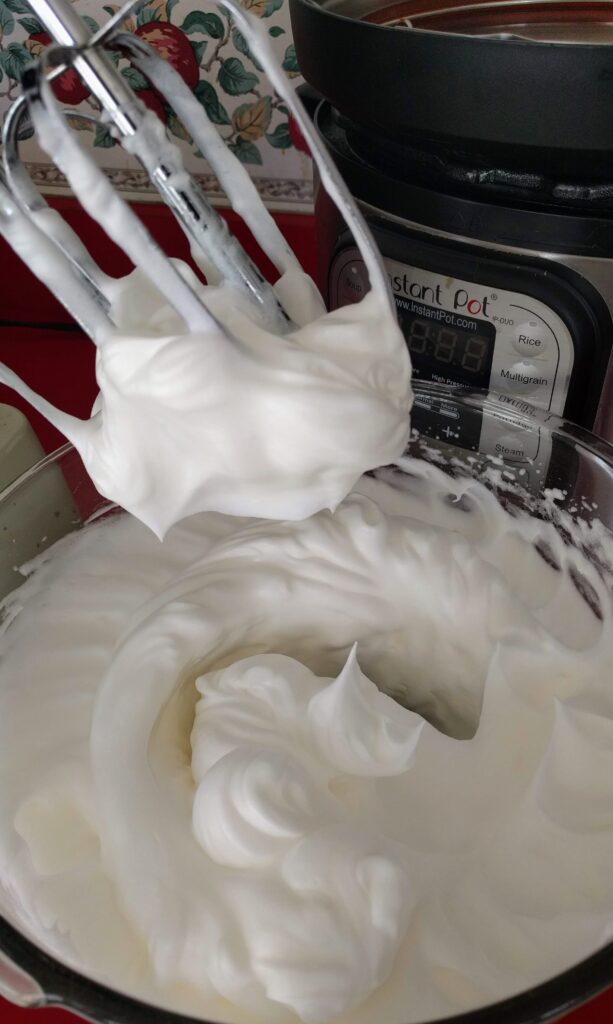
When my yeast is active, I add the yeast mixture to my yogurt/ACV and mix well. Then I gently fold this mixture into the egg whites, careful to not deflate the egg whites too much. Finally, I start folding in the other dry ingredients, 1/3 of the ingredients at a time. I mix it as well as I can by hand and then turn my mixer on low for a few seconds while scraping the bottom/sides to make sure no flour remains. Then I pour/scoop the dough into my bread pan.
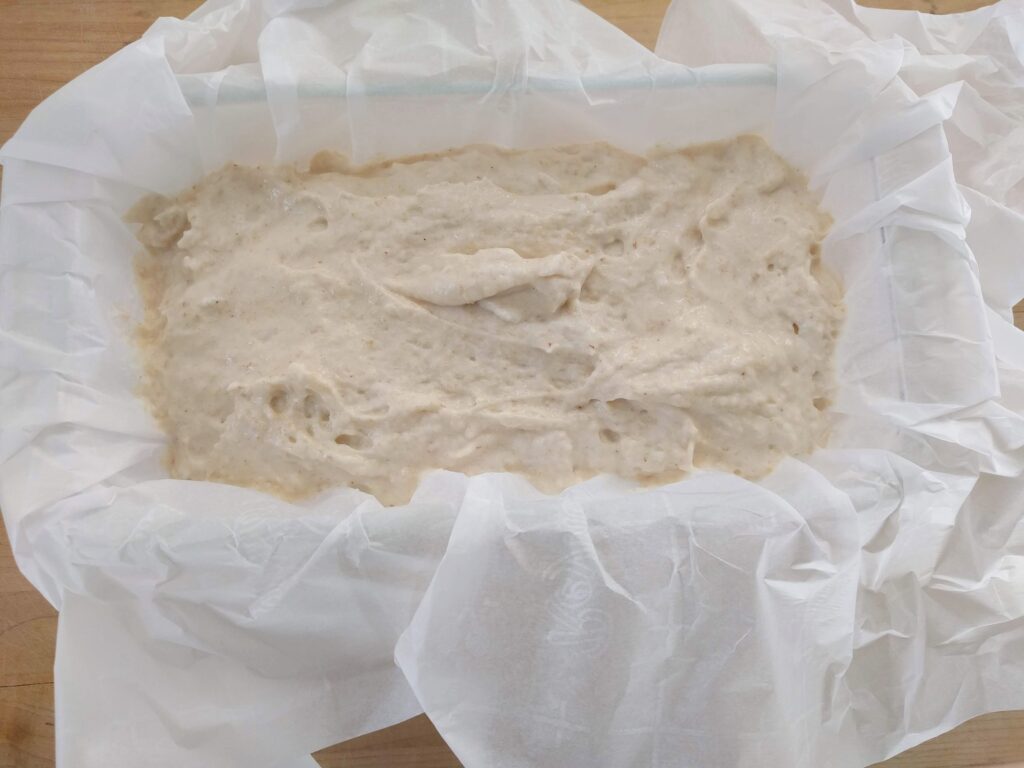
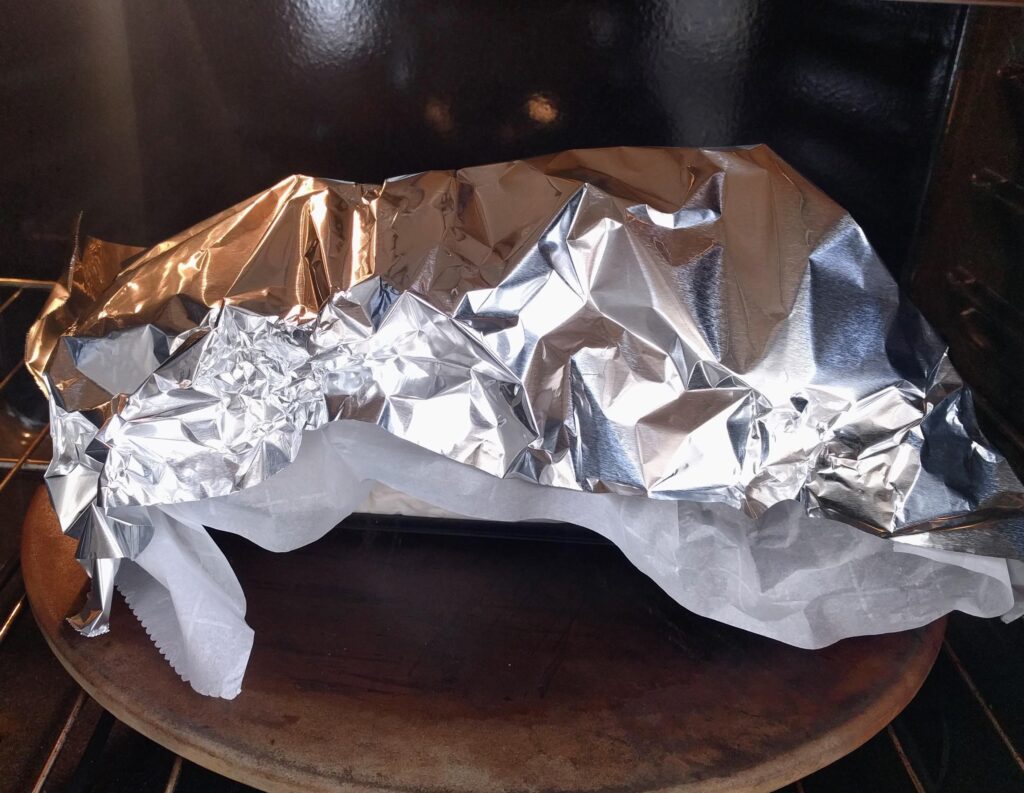
I then loosely cover my bread dough/pan to keep the top of the dough from drying out while it rises in my draft-free/slightly warm oven. I let my bread rise for between 20 and 25 minutes. In the summer, it’s more like 20 minutes, while the winter is more like 25 minutes.
This is about what the dough should look like after 20-25 minutes of rising. Now it is ready to take out of the oven while I preheat the oven to 350*.
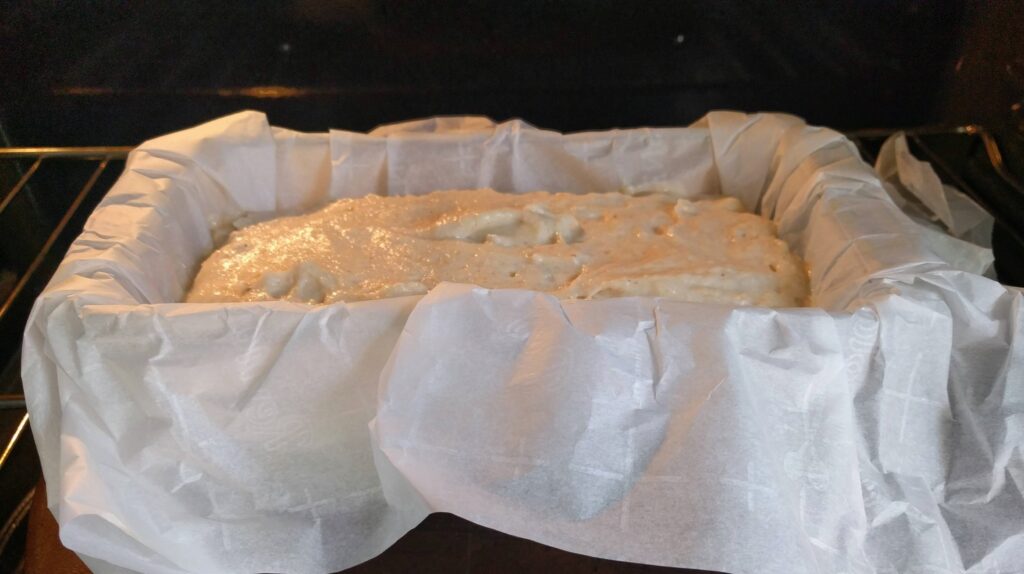
When my oven is preheated, I set my timer for 40 minutes and place my uncovered bread in the oven. I rotate my bread pan about every 10 minutes as it bakes to help it bake more evenly in my basic electric oven. This is what it should look like after about 20 minutes of baking. It’s just starting to brown a little on top. Since this bread is so low-fat, the crust can become overly dry, so I like to cover my loaf loosely with aluminum foil after about 20 minutes of baking for a softer bread/crust.
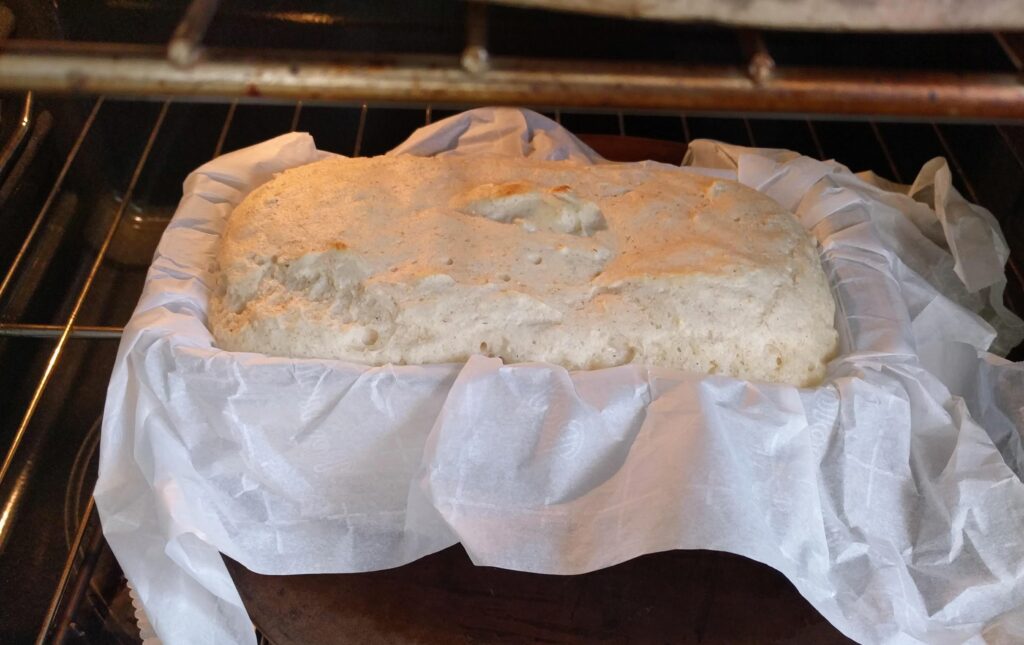
When my timer goes off after 40 minutes of baking, I then remove the aluminum foil and let the bread brown a little more on top. I set my timer and let it bake for another 5 minutes.
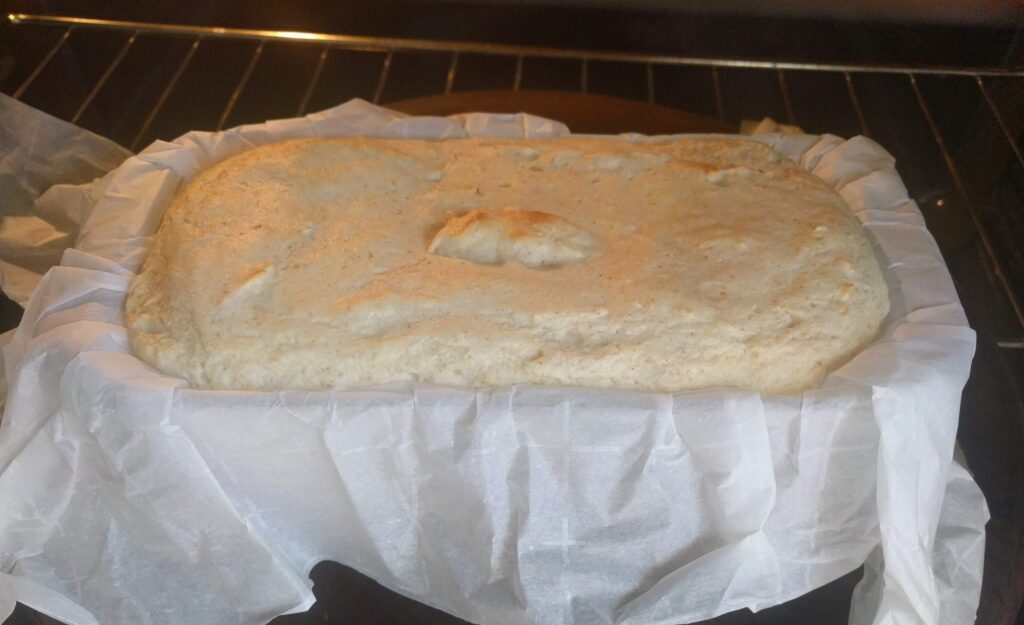
After a total of 45 minutes of baking, I then remove my bread from the oven and check to make sure the center is between 205 – 210*. This loaf reached 205* so it’s finished baking. Yay!
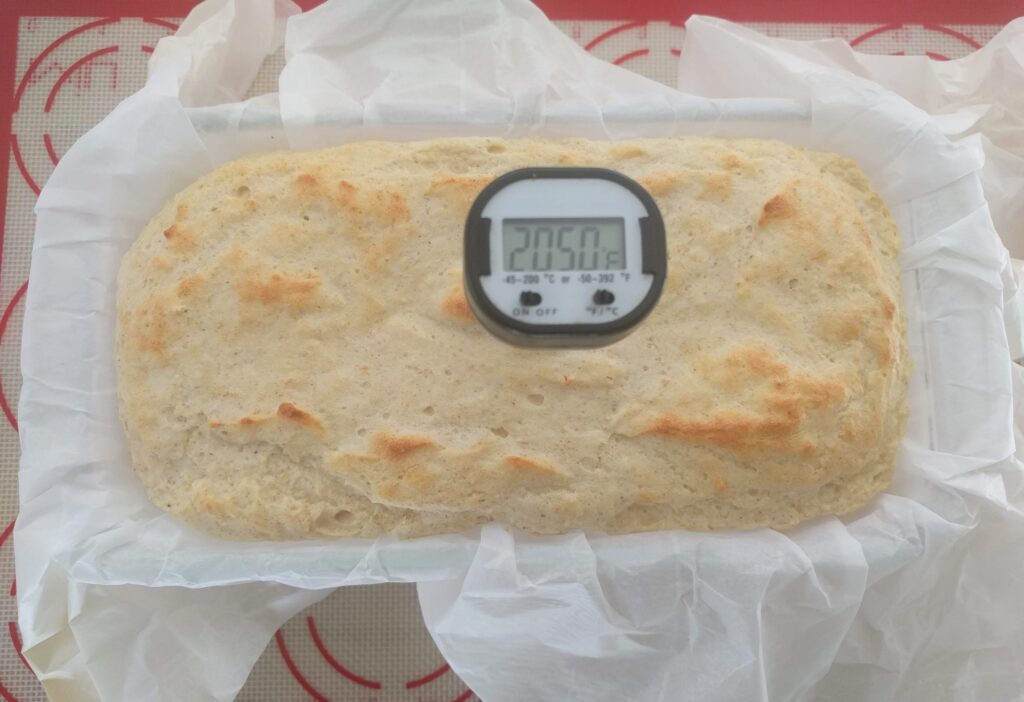
While it’s done baking, I am not finished with the oven. I turn off my oven at this point and cover my bread pan with aluminum foil and place the bread back into the oven on its side and close my oven. This is a little trick/hack to keep gluten free bread from shrinking/deflating as it cools. I let it sit on one side for 5 minutes and then turn it onto its other side for another 5 minutes. I leave my oven door cracked open for the last 5 minutes to help gradually cool the bread. Drastic changes in temperature can cause the bread to shrink/deflate.
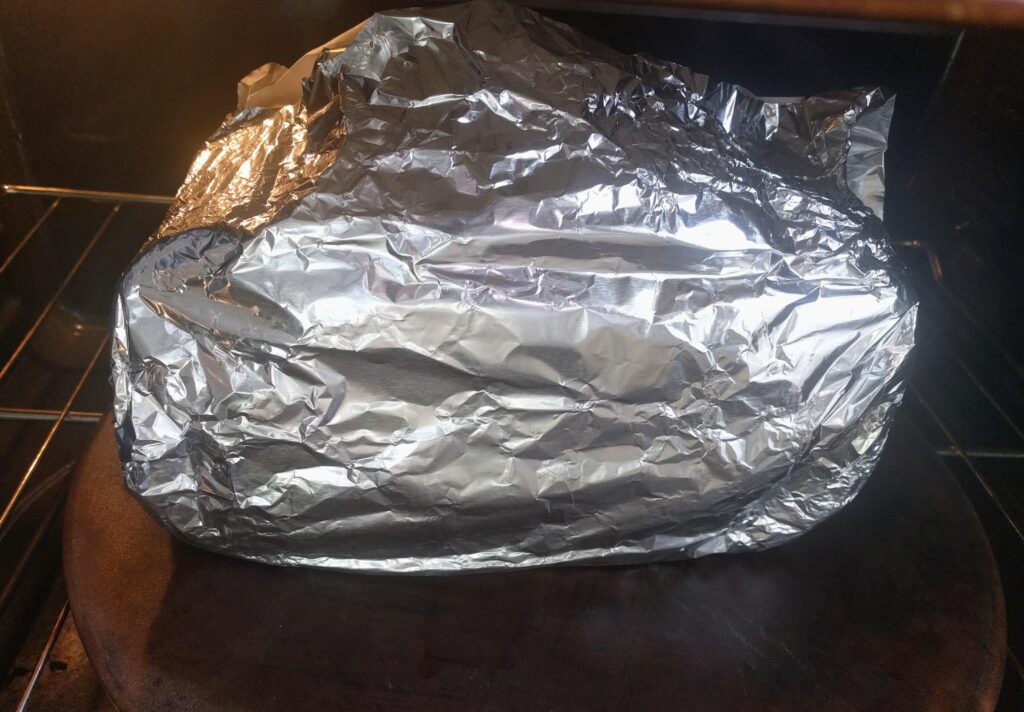
Now it’s ready to remove from the oven and cool on the counter. I still keep it on its sides at first – 5 minutes on one side and then flip and 5 minutes on the other side.
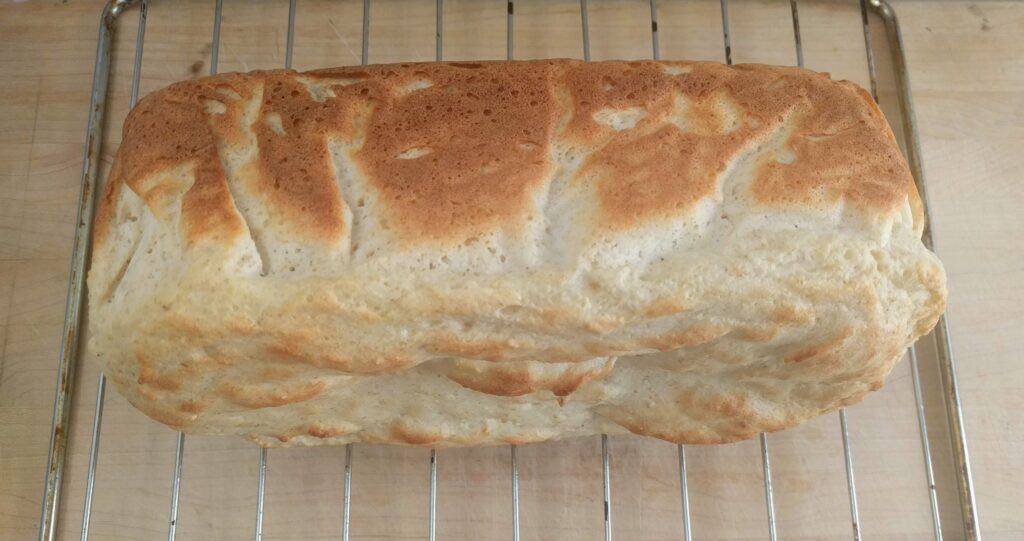
And we now have a beautiful loaf of Keto Bread! But it’s not ready to cut into just yet! It continues to cook as it cools so let it completely cool before slicing. This usually takes about 2-3 hours for me.
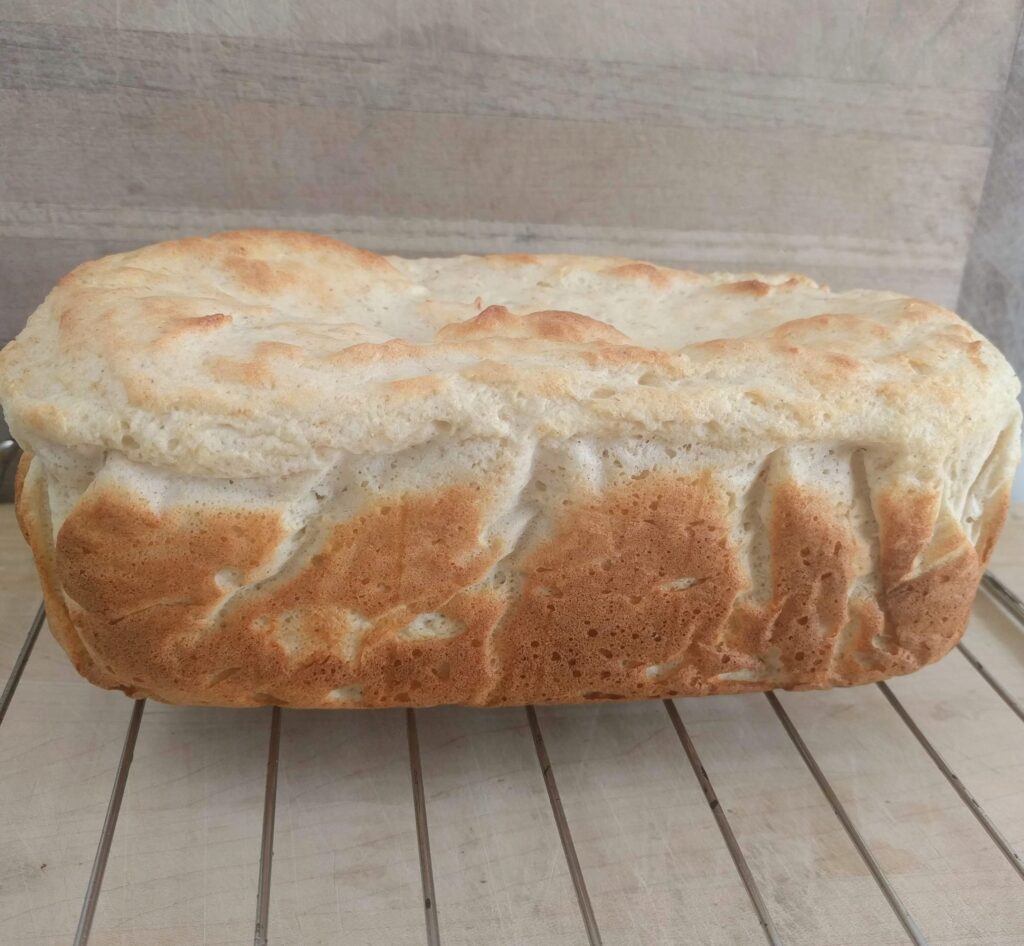
When it’s ready to slice, I use a serrated knife and carefully slice it. I usually get between 24 and 30 slices, but it will depend on how thick you make your slices. The macro numbers are based on 24 slices of a 2/3 recipe loaf. Personally, I find it’s easier to slice the loaf when it’s upside down.
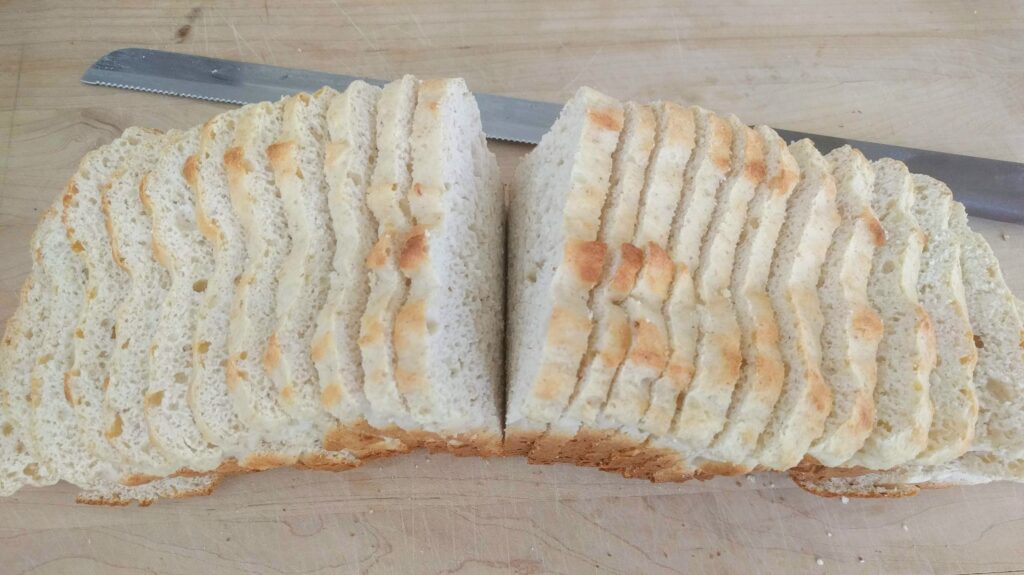
Keto Bread is actually really easy to make
While this recipe may appear to have many steps or to be too complicated, let me assure you that it’s really easy to make! You CAN make your own amazing yeast-risen THM-FP gluten-free bread!
I just wanted to document and explain every little step I make when making this bread because I know how daunting bread making (especially gluten-free bread making) can be. I personally like someone to hold my hand and walk me through recipes like this, which is what I am attempting with this recipe.
It may seem like more work than just throwing ingredients in a blender but, trust me, it’s really worth it to have amazing sandwich bread that turns out perfectly every time!
Alternatives to THM Baking Blend:
I personally make my own THM Baking Blend (THMBB) with this recipe but it can also be ordered directly from the Trim Healthy Mama Store or from Amazon.
But I also figured out the exact amounts (in grams) of the individual ingredients for those who don’t have THMBB or who have no desire to make their own.
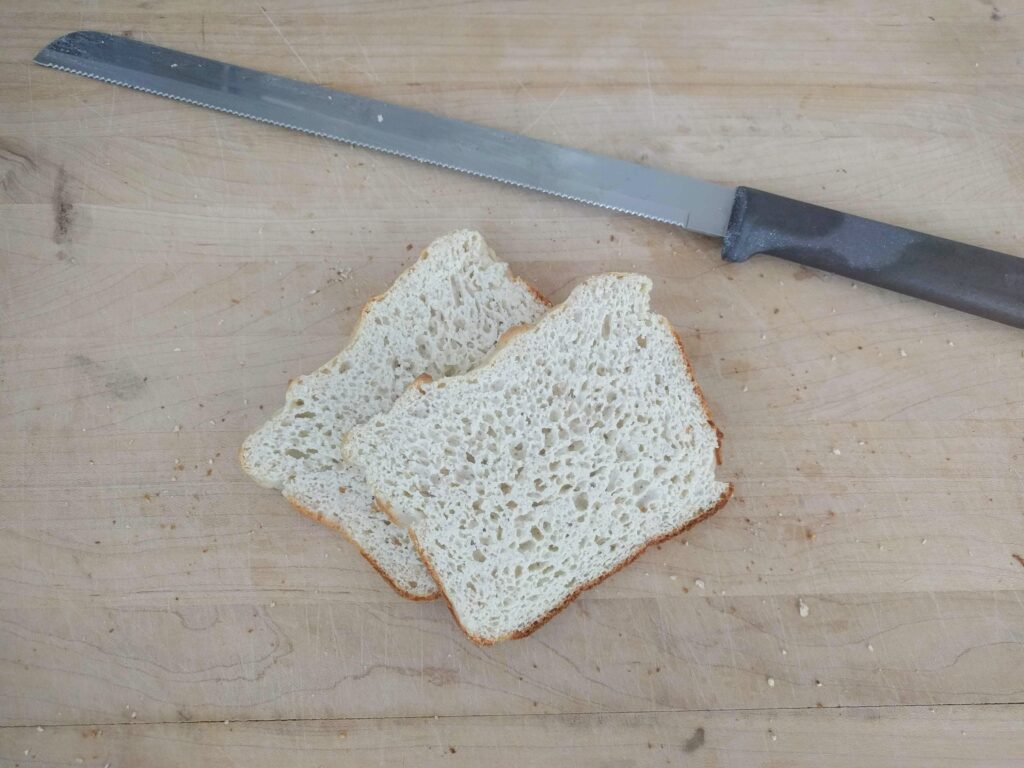
The individual Keto Bread THMBB ingredients in grams:
| Full Recipe Amounts: | 2/3 Recipe Amounts: |
| 23g Golden Flaxseed Meal | 15g Golden Flaxseed Meal |
| 23g Coconut Flour | 15g Coconut Flour |
| 9g Almond Flour | 6g Almond Flour |
| 41g Oat Fiber | 28g Oat Fiber |
| 16g Collagen | 11g Collagen |
| 5g Glucomannan | 3g Glucomannan |
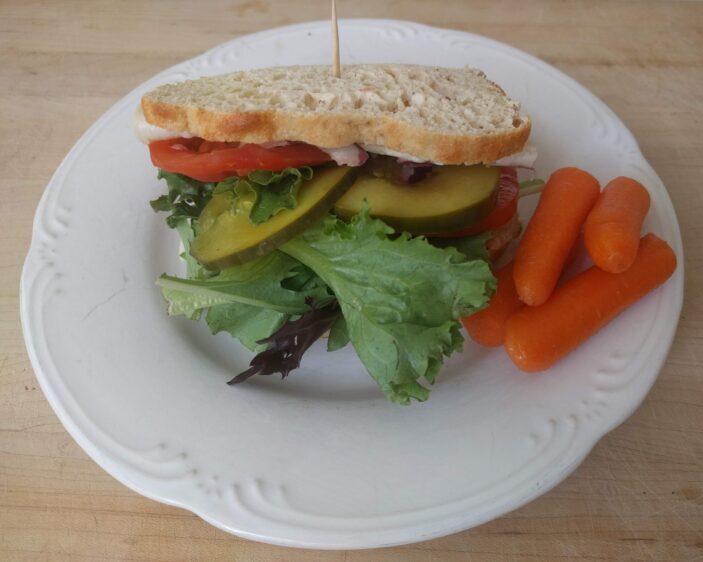
All the possibilities…
I NEVER let myself run out of this bread. Of course everyone knows of the multitude of sandwiches that can be made with any bread, but this bread has even more options.
It can be eaten in any of the THM fuel settings (except for THM-Deep-S). I love being able to have a yummy sandwich in THM-Fuel-Pull, such as my Ultimate Fuel-Pull Sandwich in the above picture, but it’s also great for classic THM-FP PB&J’s (using defatted peanut powder and my homemade sugar-free jam).
It’s also great for THM-S meals. I use it for grilled sandwiches (such as grilled cheese), as garlic bread with spaghetti zoodles, french toast, and also for those loaded sandwiches with mayo, avocado, bacon, lunch meat, etc. 😋 I love that I can pile on all my favorite fixings and not have to worry about over-doing it on the calories/macros.
It’s super yummy, too! With it being yeast-risen, it tastes like real bread! You know, like the bad-for-you, gluten-filled white sandwich bread. It’s even light, airy and springy!
It also holds up amazingly well! I packed sandwiches for my husband and myself for a family outing recently and used this Keto Bread for my sandwich and a store-bought gluten-free bread for his sandwich. I put slices of tomato on each of our sandwiches and, while his bread became soggy and was falling apart, my sandwich held up perfectly! 🥪
Keto Bread THM-Fuel-Pull Low-Calorie Gluten-Free
Course: Bread, THM-Fuel-PullCuisine: AmericanDifficulty: Moderate24
servings20
minutes45
minutes25
kcal20
minutes1
hour10
minutesFluffy yeast-risen Keto Bread that’s gluten-free, high-protein, and THM-Fuel-Pull. Only 0.5g net carbs and 25 calories per slice!
Ingredients
- Room Temperature Egg White Mixture:
Egg whites – Full: 1½ cups (368g) / 2/3: 1 cup (245g)
Cream of tartar – Full: ¼ tsp / 2/3: ⅛ + 1/16 tsp (add with mixer on)
Xanthan gum – Full: ½ tsp / 2/3: ⅓ tsp (add with mixer on)
- Room Temperature Yogurt Mixture:
Non-fat Greek yogurt – Full: 1 cup (227g) / 2/3: ⅔ cup (151g)
Apple cider vinegar (ACV) – Full: 1 TBS / 2/3: 2 tsp
- Dry Ingredients:
THM baking blend or make your own – Full: 1 cup (117g) / 2/3: ⅔ cup (78g)
Whey protein isolate – Full: ¾ cup (72g) / 2/3: ½ cup (48g)
Ground psyllium husks – Full: 1½ TBS / 2/3: 1 TBS
Sweetener (I use Lakanto)* – Full: 1 TBS / 2/3: 2 tsp
Baking powder – Full: 2½ tsp / 2/3: 1 ⅔ tsp
Sea salt – Full: ½ tsp / 2/3: ⅓ tsp
Ground ginger – Full: ¼ tsp / 2/3: ⅛ + 1/16 tsp
- Yeast Mixture:
Dry active yeast – Full: 1 TBS / 2/3: 2 tsp
Sugar – Full: 1 ½ tsp / 2/3: 1 tsp
Water – Full: 3 TBS / 2/3: 2 TBS
Directions
- Prepare your oven. I like to break the chill by turning oven on for a minute or so until it’s around 80-90* and then turn it off (but turn on oven light to keep warm).
- Prepare bread pan by lining with parchment paper. Do your best to mold it flat against the bottom and sides. It doesn’t have to be perfect.
- Measure/weigh egg whites and yogurt into separate bowls/measuring cups and submerge bowls/cups in hot tap water to quickly bring to room temperature.
- Add ACV to yogurt.
- Measure cream of tartar and xanthan gum and set aside.
- Mix dry ingredients and set aside.
- When egg whites and yogurt are room temperature, start activating the yeast. In a small bowl, mix the sugar and dry yeast. Heat water to 105-110* and stir into the yeast/sugar mixture until yeast dissolves. Let foam for about 7 minutes.
- Also while yeast is activating, whip the egg whites with the cream of tartar and xanthan gum (I add these with the mixer on so there’s no clumping) until stiff peaks form.
- When yeast mixture is ready, stir it into the yogurt mixture. Then fold the yogurt/yeast mixture into the stiff egg whites.
- Now start folding the dry ingredients into the egg/yogurt/yeast mixture. Add 1/3 at a time, careful to not deflate the egg whites. Fold in by hand the best that you can and then turn mixer on lowest setting for a few seconds while scraping bottom and sides to make sure no flour remains.
- Pour/scoop dough into prepared bread pan. Loosely cover with aluminum foil and place in slightly warmed oven with oven light on. Let rise for 20-25 minutes.
- After rising, remove dough from oven and preheat oven to 350*.
- When preheated, bake for 20 minutes uncovered (I like to rotate mine every 10 minutes or so to help it bake more evenly). Should start to brown just a little on top.
- Then cover with aluminum foil and bake another 20 minutes.
- Remove foil and let top brown for another 5 minutes.
- Now check the temperature to make sure the bread is between 205-210*.
- When the bread has reached 205-210*, turn off the oven, but wrap aluminum foil over the bread pan and put the bread back into the oven on one of its sides. Close the oven and leave for 5 minutes.
- Then flip covered bread over to other side and leave for another 5 minutes. This time, leave the oven door cracked open. We’re letting the bread slowly cool so it doesn’t shrink/deflate from drastic temperature change.
- Remove from oven and let finish cooling on rack on counter. Lay on one side for 5 minutes and then flip and lay on other side for another 5 minutes. Then set it upright and allow it to fully cool before slicing. This usually takes 2-3 hours for me, based on making a 2/3 recipe loaf.
- When fully cooled, gently slice into about 24 equal slices using a serrated knife. I find it easier to slice the bread upside down.
- Enjoy either fresh (though store in fridge to prevent spoilage) or freeze in slices on a cookie sheet and then transfer to a freezer bag when frozen. Reheats well either in toaster or microwave.
Notes
- If any ingredients appear to have a line through them, just click to side of ingredient (or on another ingredient) and the line should disappear. It’s a feature of the recipe plugin that allows people to cross off ingredients as they add them to a recipe. Also, the print feature of this plugin is a little wonky so always check over recipe print-outs to make sure all ingredients are included and correct. Another option is to copy and paste the recipe text and print through a different program.
- Some of the measurements for the 2/3 recipe may be strange amounts, like ⅓ tsp. I just eye-ball it (like fill a ½ tsp two-thirds full) and it always turns out fine.
- The macro breakdown is based on 1 slice (out of 24 total slices) of 2/3 recipe loaf of Keto Bread: 25 calories, 0.5g net carbs, 0.4g fat, and 4.1g protein. Macros will be a little higher (since slices will be larger) with a full recipe loaf.
- The tiny amount of sugar that is mixed with the yeast and water does not remain in the finished bread. It is just used to “feed” the yeast so that it will help the bread to rise. The yeast metabolize the sugar so it does not affect the macro numbers of the finished bread.
- I have experimented with substituting cottage cheese for the Greek yogurt but I didn’t feel it turned out as well as it does with the yogurt.
- If using a different sweetener, check out this sweetener conversion chart.
 LifeSource Foods Oat Fiber 500
Nutrition Facts
24 servings per container
- Amount Per ServingCalories25
- % Daily Value *
- Total Fat
0.4g
1%
- Total Carbohydrate
2g
1%
- Dietary Fiber 1.5g 6%
- Protein 4.1g 9%
* The % Daily Value tells you how much a nutrient in a serving of food contributes to a daily diet. 2,000 calories a day is used for general nutrition advice.
You might also like:
Amazon and the Amazon logo are trademarks of Amazon.com, Inc, or its affiliates.


